A leak at Stoke Newington: the roof was fine, the brickwork was not
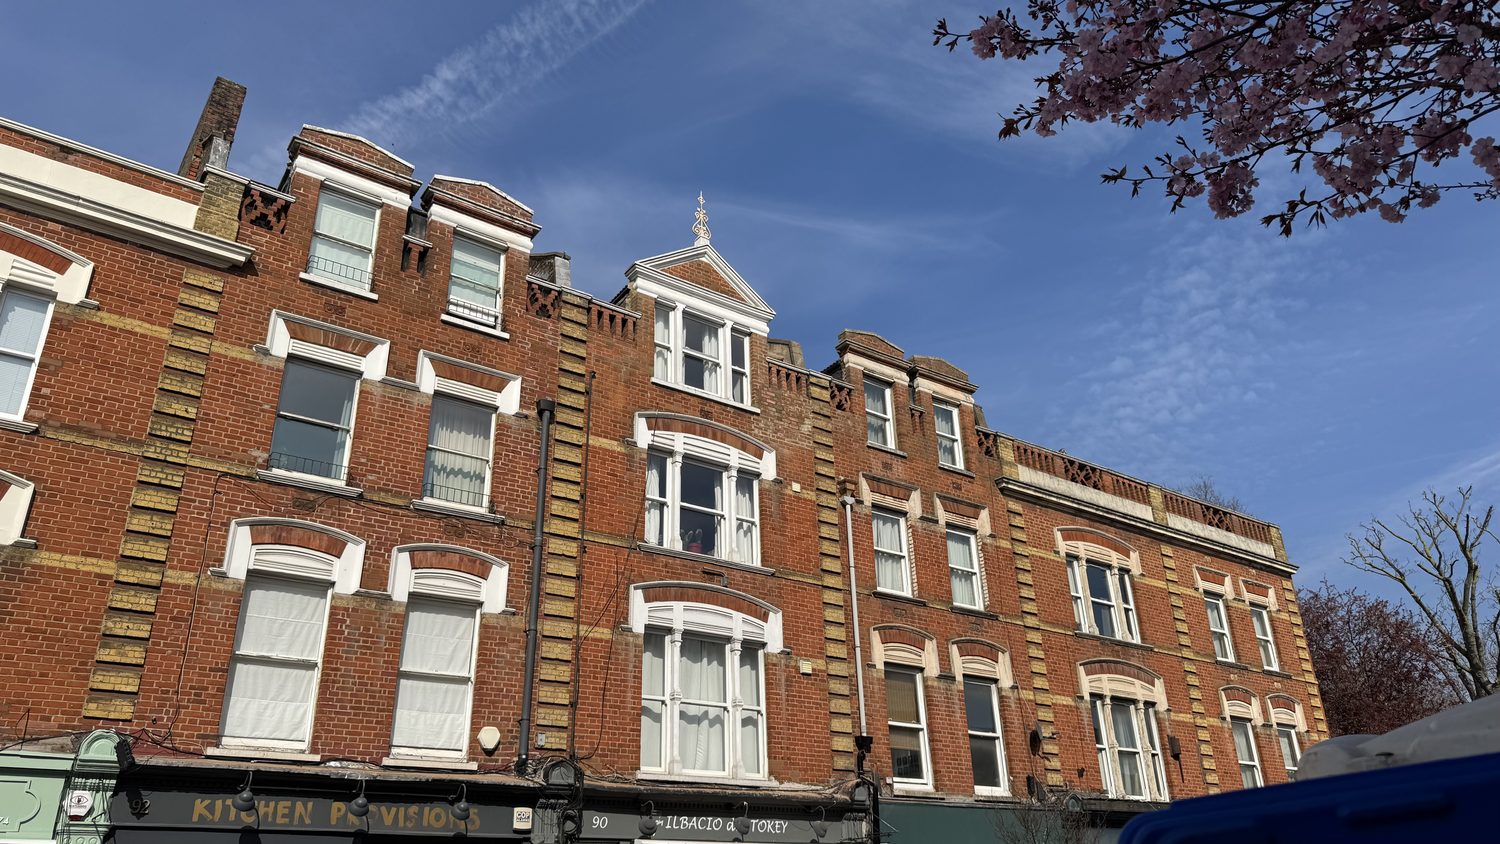
Project summary. A Victorian building on Stoke Newington Church Street, N16, with water coming through at a top-floor window reveal. The roof was inspected first and found to be sound. The defect was the high-level brickwork around the windows and roof abutments, which had weathered to the point of crumbling. Nine bricks were replaced, the joints were repointed, gaps were sealed, the gutters were cleared and the rear wall was repaired and treated. The internal finishes were reinstated three weeks later, once the wall behind them was confirmed dry.
The symptom was internal. The cause was forty feet away.
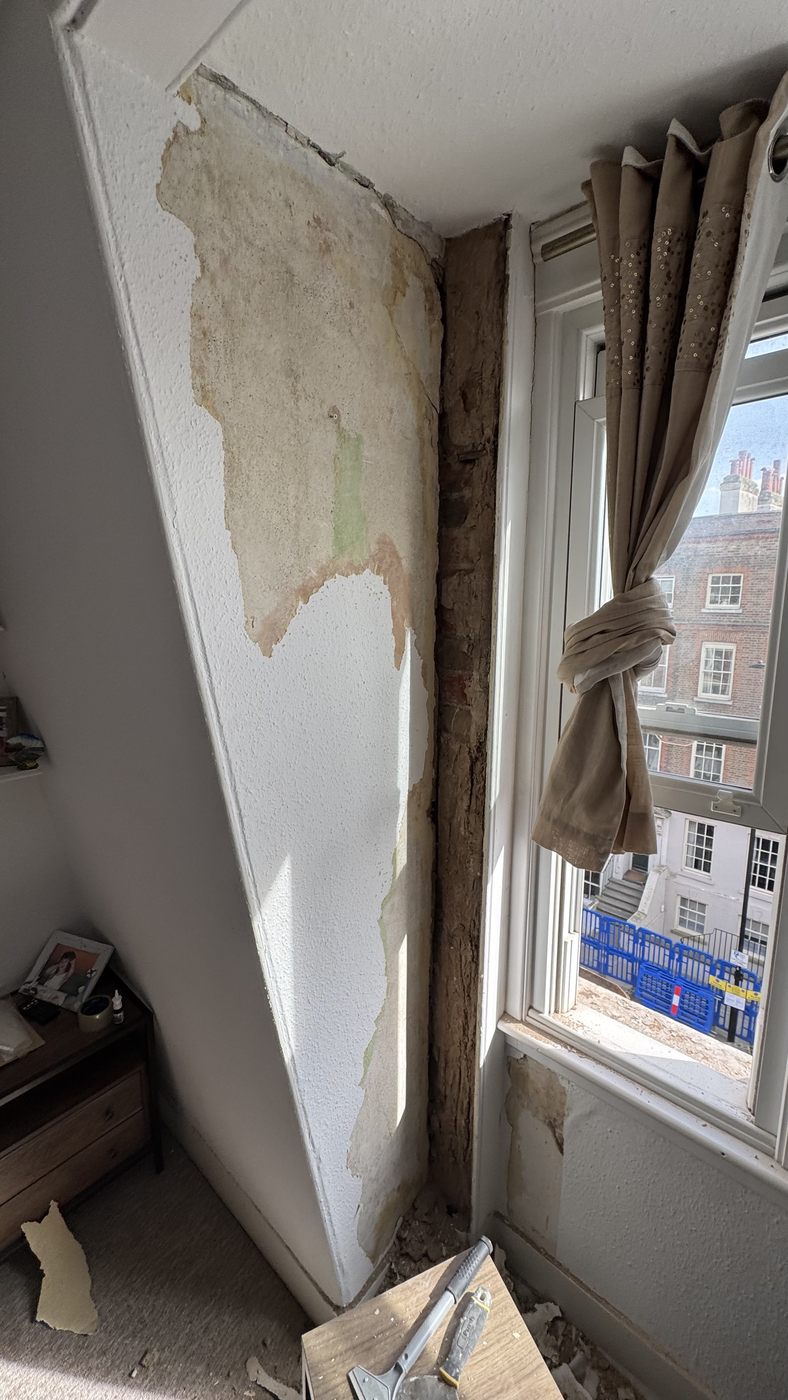
What the occupier saw was a damp patch at a window reveal on the top floor: staining spreading across the plaster, the finish lifting, and the usual suspicion that something above had failed.
This is the point at which a lot of money gets spent in the wrong place. Damp at a top-floor window reads as a roof problem, and roof problems get quoted as roof works. Nobody enjoys being told the roof is fine, because the roof is the expensive thing everyone was braced for.
The roof was fine
We took access to the front and rear roof areas to inspect the brickwork, the roof abutments and the associated weathering details before agreeing any scope.
The main roof covering was in serviceable condition, with no major widespread defects to the slopes at the time of access. Nothing there explained the water.
What the water was actually coming through
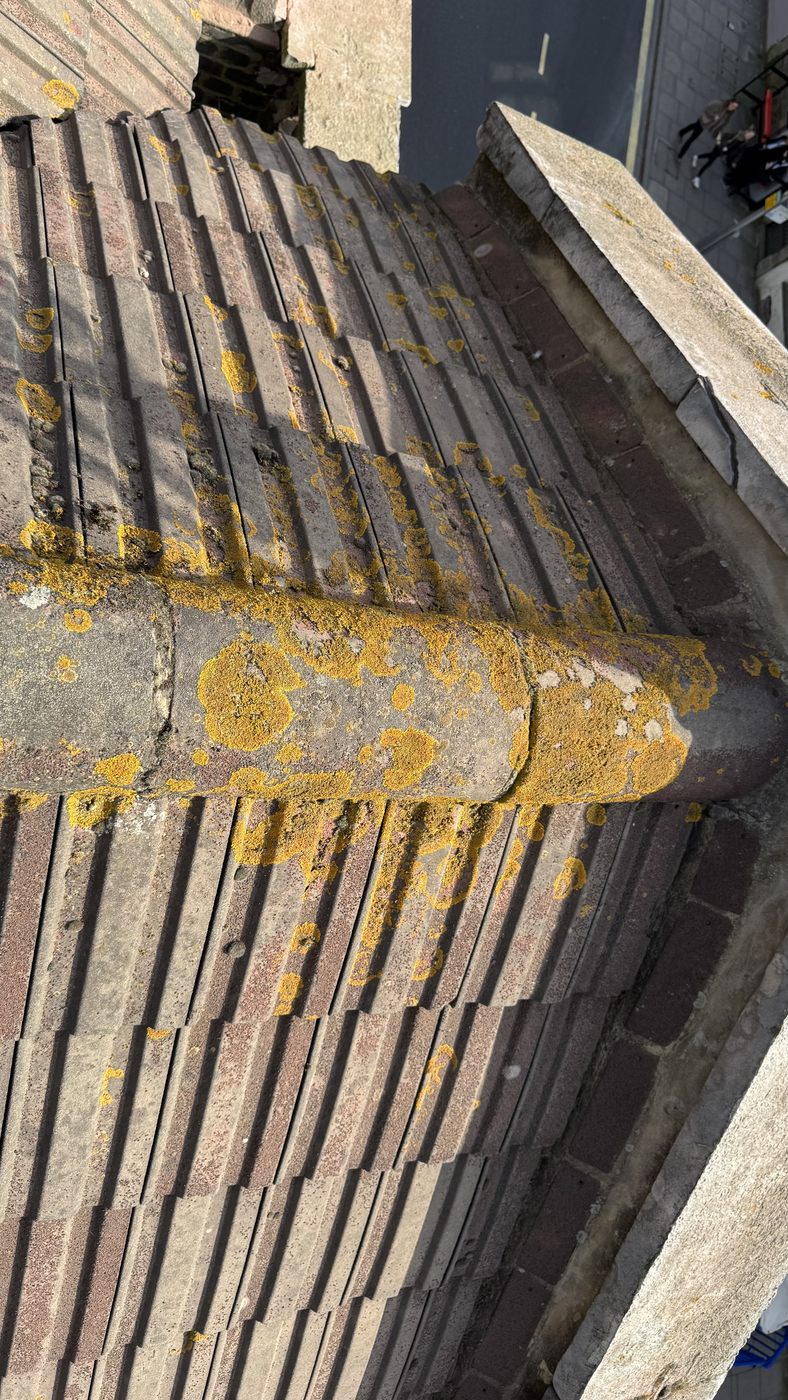
The defect was the brickwork. On both the front and rear elevations, the high-level masonry had deteriorated significantly. In the worst areas the brick faces had broken down to the point of crumbling and local disintegration, with failed mortar joints, open gaps and weak surrounding masonry. The condition of these areas was notably worse than the roof coverings around them.
Concentrated, as it usually is, around the windows and the abutments: the places where a wall is interrupted, where water is directed, and where prolonged exposure does its work first.
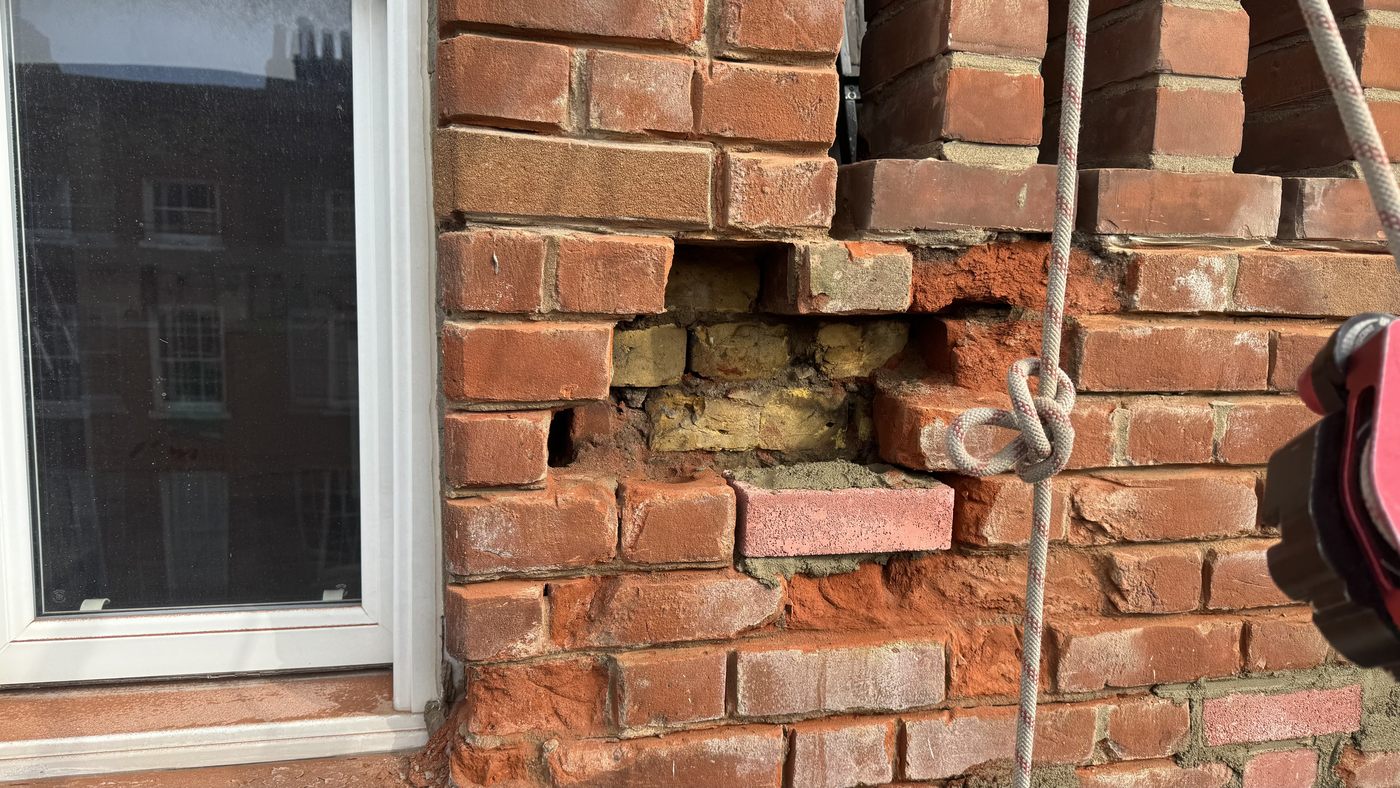
That photograph is the whole diagnosis. There is no mystery about where water goes when it meets that.
The repair
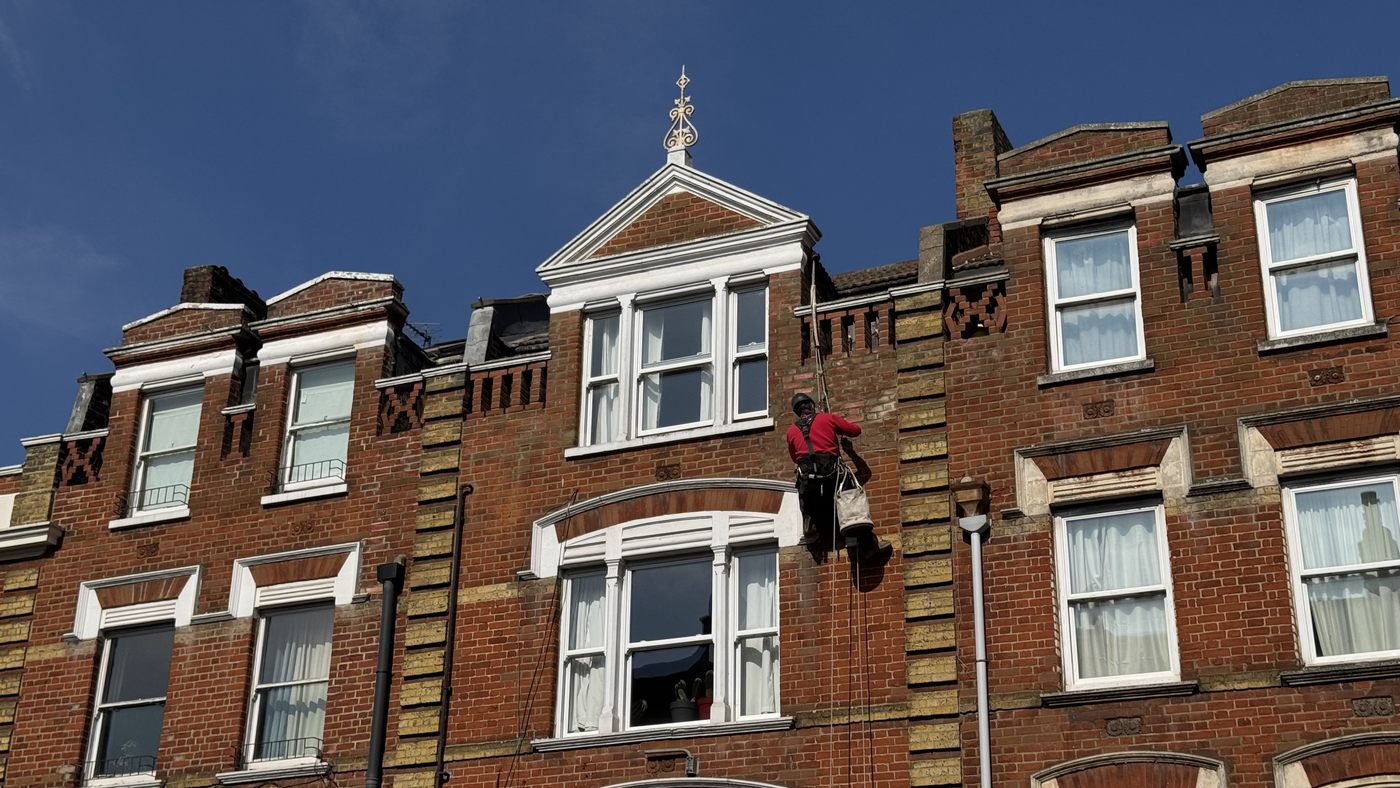
Everything below was carried out on ropes from the roof, with the footway managed at ground level.
- Nine severely defective bricks replaced to the front affected areas, with loose, failed and disintegrated brickwork carefully removed first.
- Repointing to both sides of the windows and to the surrounding defective joints.
- Mastic applied to identified gaps and cracks to improve the weather seal.
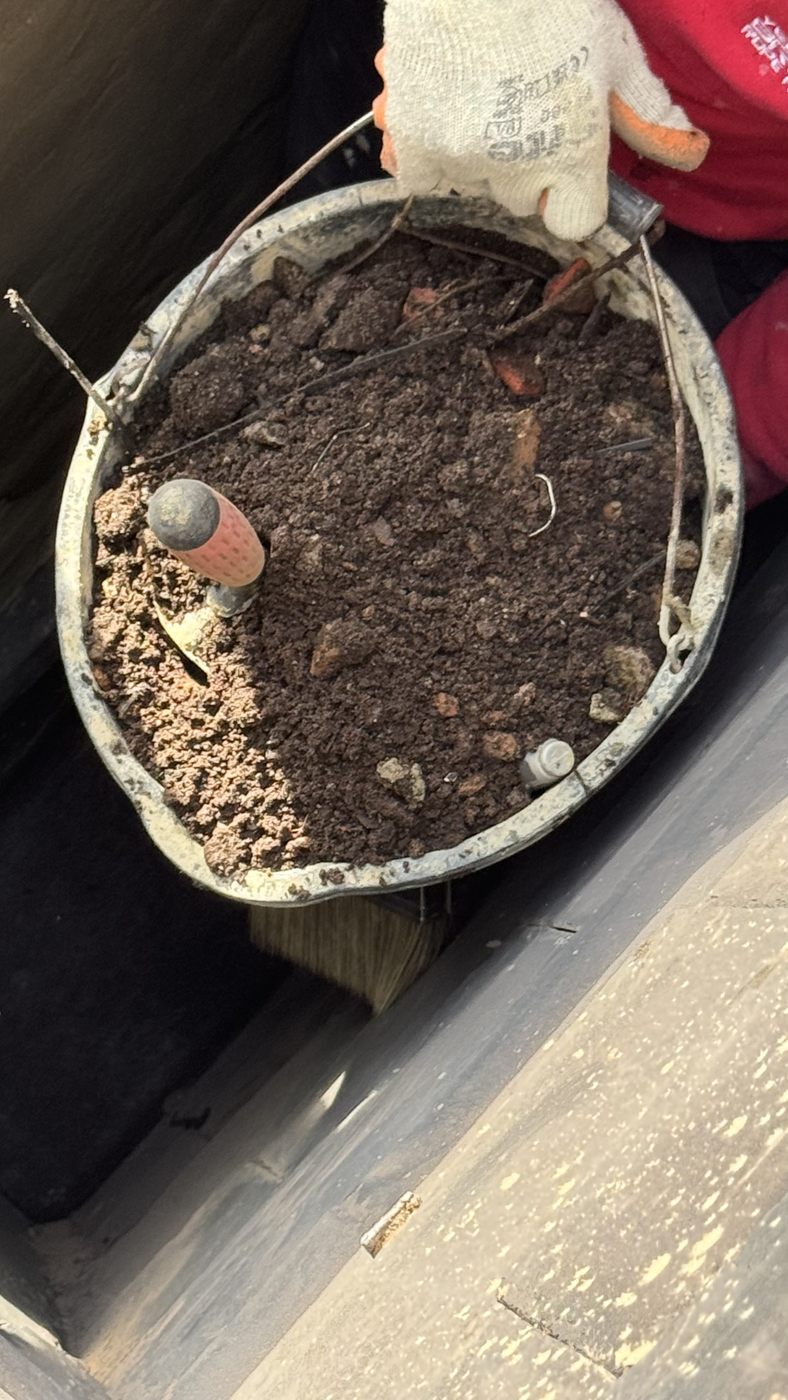
- Gutter clearance to remove debris and restore proper rainwater flow.
- Localised render repair and making good to the rear brick wall, where runoff from the adjacent roof slope had been striking the wall directly.
- A breathable water-repellent treatment to the repaired rear elevation, chosen so the wall can still release trapped moisture rather than sealing it in.
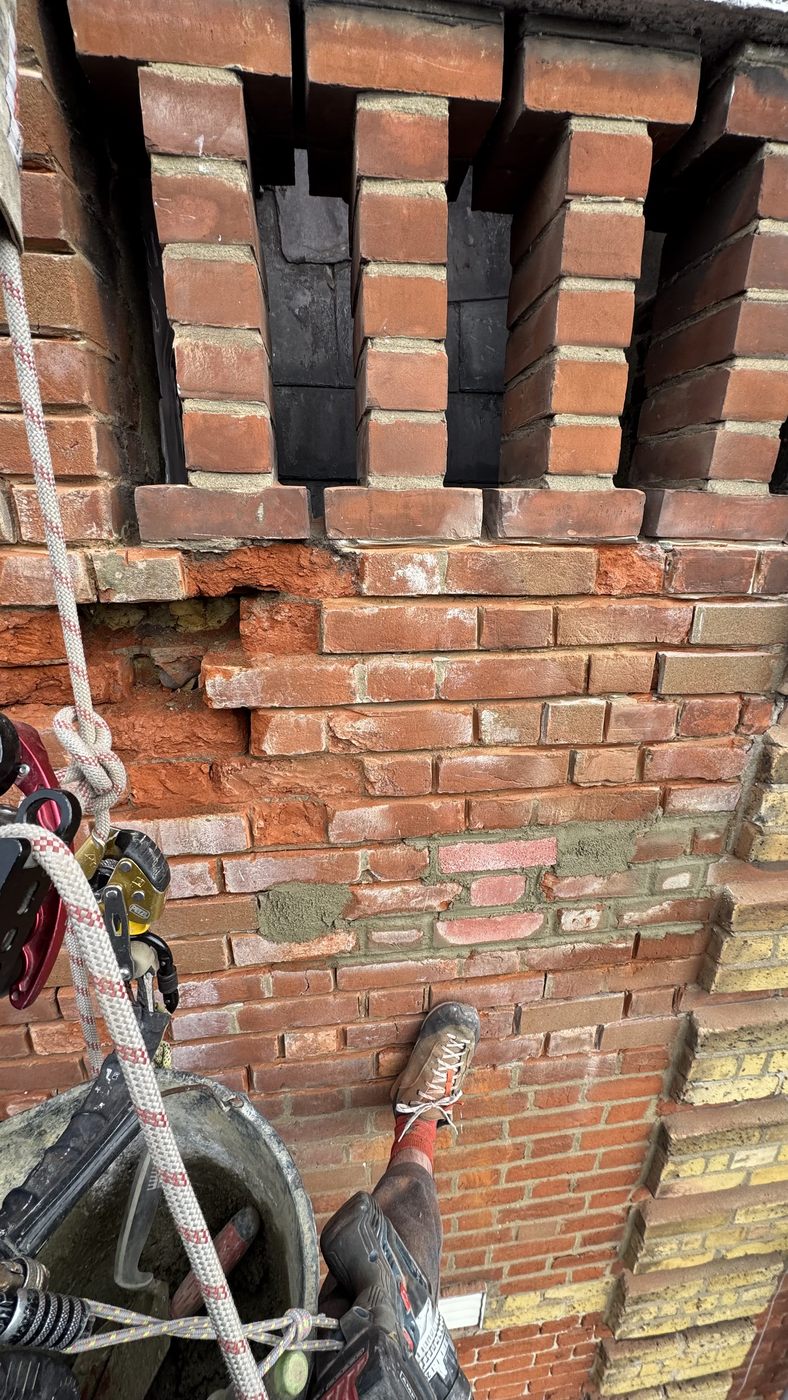
The gutters deserve a note. Clearing them was not the headline repair here, but a gutter that cannot carry water sends it down the wall face instead, onto exactly the masonry that was already failing. Two defects that look unrelated on a quotation are often the same defect.
Then we waited three weeks
This is the part that matters most, and it is the part most likely to be skipped.
The external repair was completed on 21 March. The internal making-good was not carried out until 10 April. On returning, the affected section next to the window reveal was checked and found to be dry and in suitable condition for reinstatement. Only then were the internal works done: preparation of the surface, plaster to reinstate the opened section, lining paper, wallpaper finish, and redecoration using an anti-damp paint.
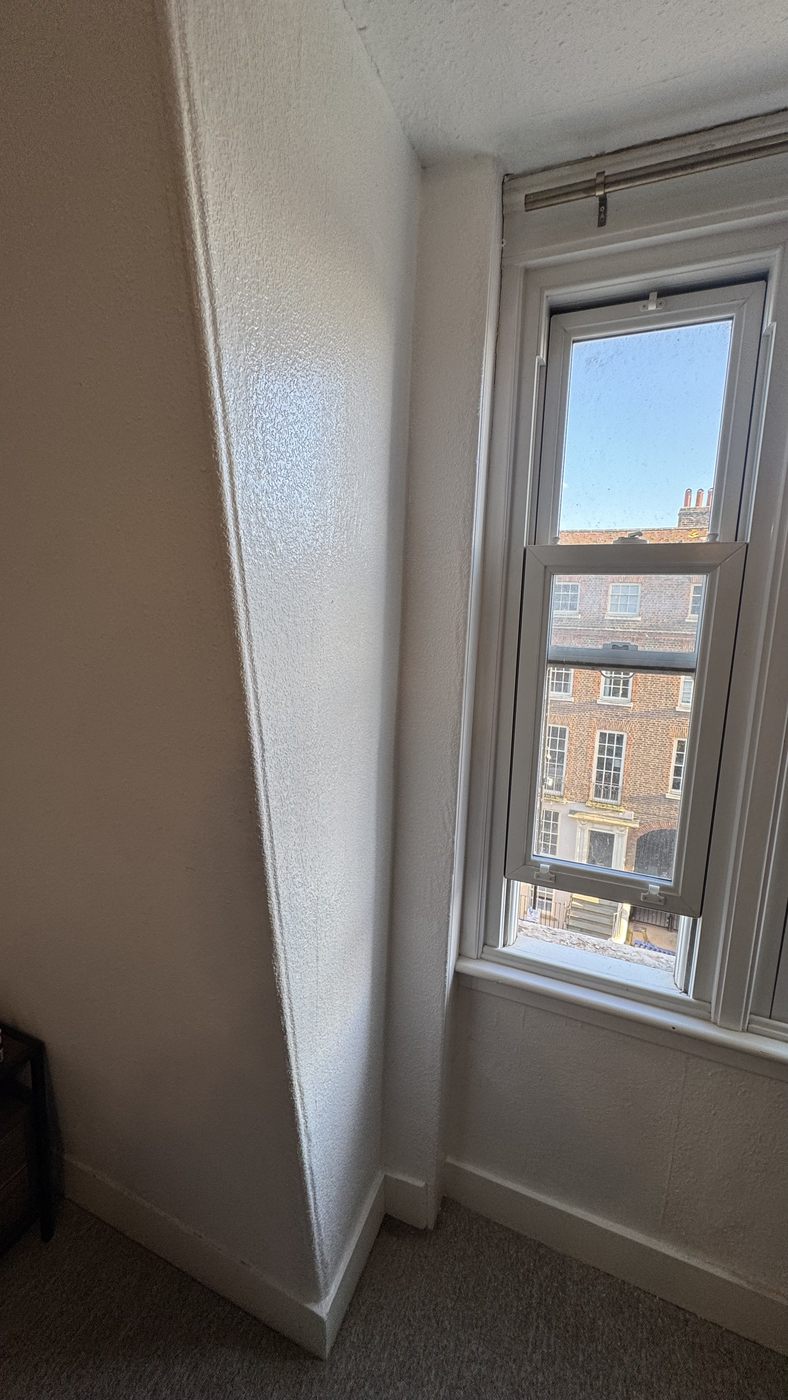
Plaster applied over a wall that is still carrying water does not adhere properly, and the finish fails again. Then the failure gets blamed on the external repair, which by that point has done nothing wrong. The three weeks were not caution for its own sake: the wall was checked, and it had dried.
We have written separately about why painting over damp does not solve the problem and how long a wall takes to dry after water ingress. This job is both of those articles, carried out in the right order.
What to take from it
If you have damp at a top-floor window, the useful sequence is: look at the wall before you price the roof, look hardest at the windows and abutments, and treat the gutters as part of the same problem rather than a separate line item.
And when the outside is fixed, wait. A repair that looks finished on the day it is decorated is not the same as a repair that is still finished next winter.
Our own recommendation to the client was to monitor the areas during heavy rainfall to confirm the ingress is resolved, and to keep exposed high-level brickwork under periodic inspection, because failed joints caught early stay small.
Water coming in somewhere you cannot reach?
Send a photo of the internal damage and the postcode. Most of the time the photograph indoors tells us very little and the elevation tells us everything, which is why we go and look before quoting a scope.
Related: leak investigation and water ingress, brick repointing, gutter cleaning, and roof surveys.
Need this done on a London building?
IRATA rope access teams, fixed prices, no scaffold. Reply within 24 working hours.